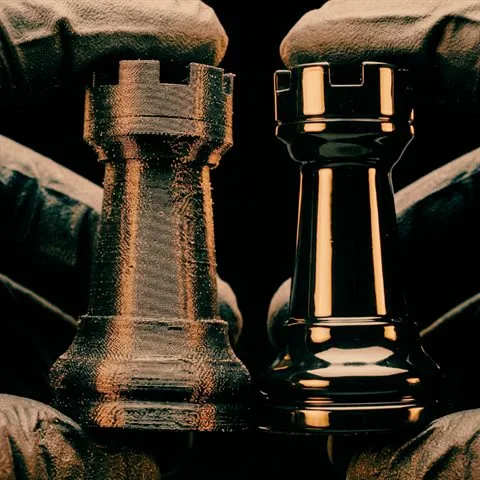
Why PETG sands differently than PLA
PETG's flexibility and response to friction can make the surface smear or turn cloudy instead of cutting cleanly. That behavior is the important signal: a method that cuts PLA may smear PETG. Material labels are only a starting point because blends and print conditions also vary. The part in hand outranks the label.
Start finer than you think
Aggressive abrasives can create scratches that require more friction to remove later. Begin with the least aggressive correction that can change the visible defect, then inspect the scratch pattern and edge definition. The right starting point depends on the print, not on a universal PETG recipe.
Keep the surface cool at all times
Heat management is central to PETG finishing. Sustained friction can soften the surface, blur details, and produce haze. Warmth under the fingertip, a glossy smear where texture should cut, or a new cloudy film are heat responses—not progress. Work in a way that lets you monitor the material response, and stop when the surface begins to smear or lose definition rather than trying to force the stage to completion.
Wet sanding is the better choice for most stages
Wet sanding can help manage heat and abrasive loading during suitable refinement stages. Use only abrasives intended for wet work, keep water away from equipment that is not rated for it, and let the part dry fully before judging the result or applying a coating. The transition point should follow the surface condition.
Finishing options after sanding
PETG does not accept every coating system in the same way. Compatibility between the filament, primer, color coat, and clear coat must be verified as a complete stack. Follow each manufacturer's guidance and test the full combination on a spare print before applying it to the final part.
Is the PETG surface ready for the next stage?
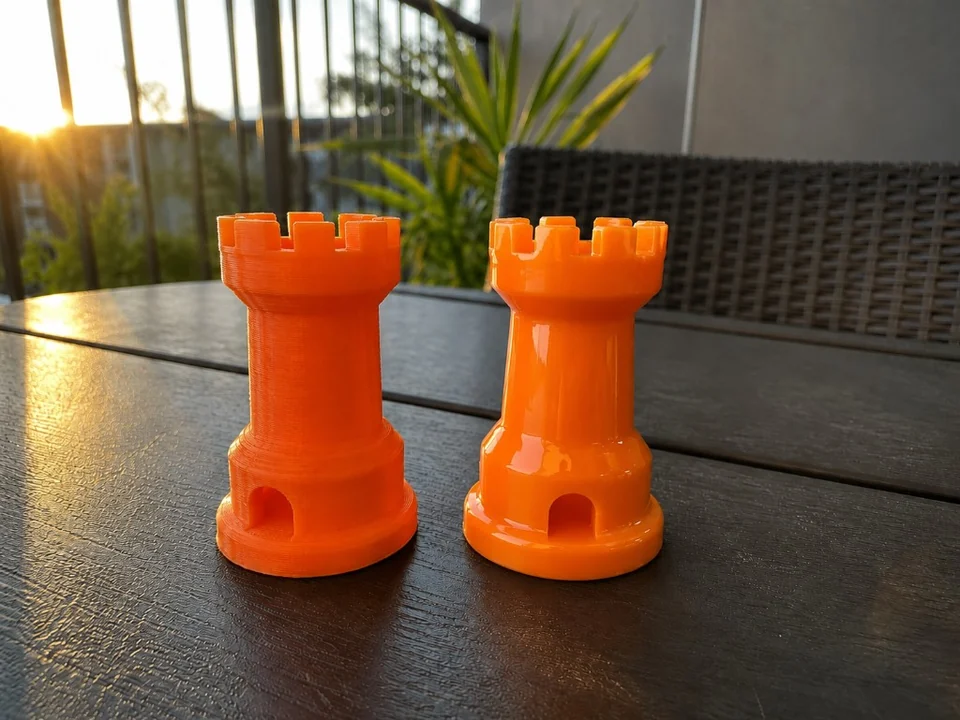
Heat response is the decision signal. A method that cuts PLA may smear PETG. Blends vary, so the part in hand outranks the label. Before moving on, confirm:
- The surface is not warm, smeared, or newly hazy.
- Intentional edges have not gone soft.
- The scratch or layer pattern being changed is even rather than mixed with a melted patch.
- The part is fully dry before any coating.
- An untested coating stack stays off the final part.
Common mistakes with PETG
- Sanding too fast and creating a cloudy, smeared surface.
- Ignoring heat until edges soften or a melted patch appears.
- Choosing an abrasive that creates more damage than the original defect.
- Changing methods without reading the surface response.
- Using an untested coating combination on the final part.
- Applying too much pressure on curved geometry and losing the shape.
Bottom line
Clean PETG finishing comes from observation and restraint. Control heat, read smear and haze early, use the least destructive correction, protect the geometry, and validate every coating combination. The Formula contains the specific PETG paths behind these principles.