Why a random print is the wrong way to practice
Pick up any real model and you are sanding several problems at once — a flat face, a curved corner, a recessed detail, an angled bevel. When the finish comes out uneven, you do not know which step failed. A practice shape isolates one geometry problem at a time. If the flat face comes out clean but the corner does not, you know exactly what to drill on next.
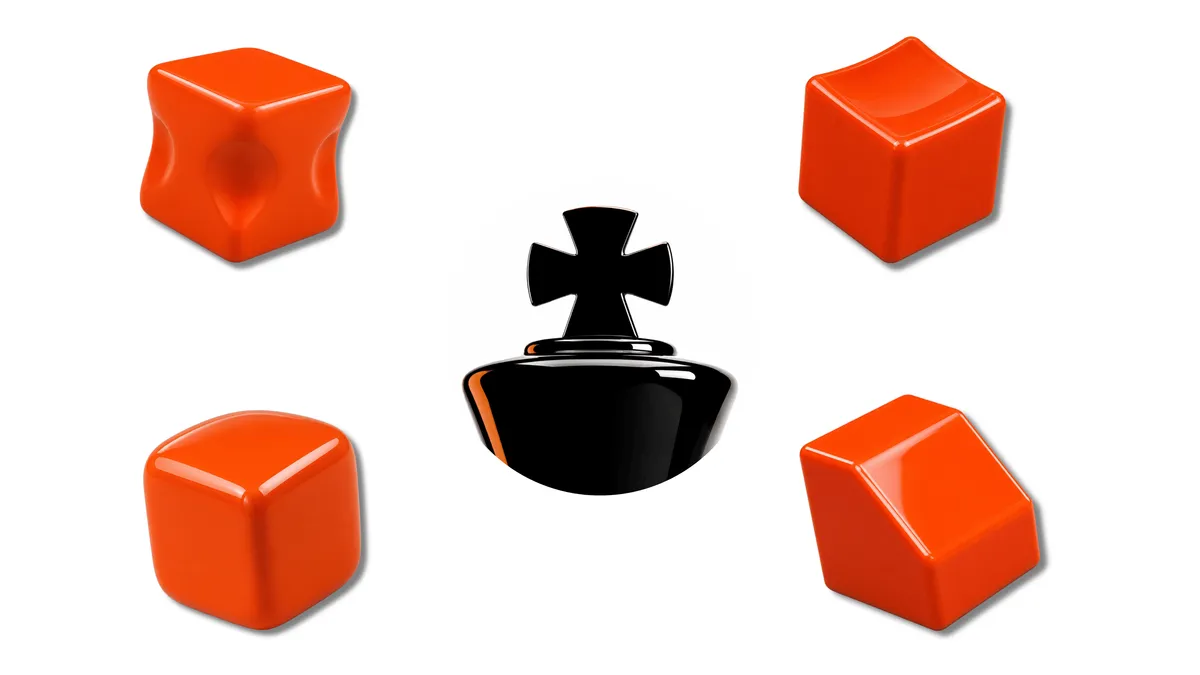
Four shapes, four skills
A flat cube tests even pressure — sand it wrong and one corner rounds off before the rest of the face levels out. A cube with a concave dimple tests groove access — flat sandpaper skates over a recess instead of following it, and most people flatten the curve without noticing. A rounded-corner cube tests radius transitions — blending a curve into a flat plane without leaving a visible seam where the two meet. A wedge cube tests angled-face discipline — keeping a bevel crisp instead of letting the edge round over into the faces on either side. Each shape fails in a different, specific way, which is the point.
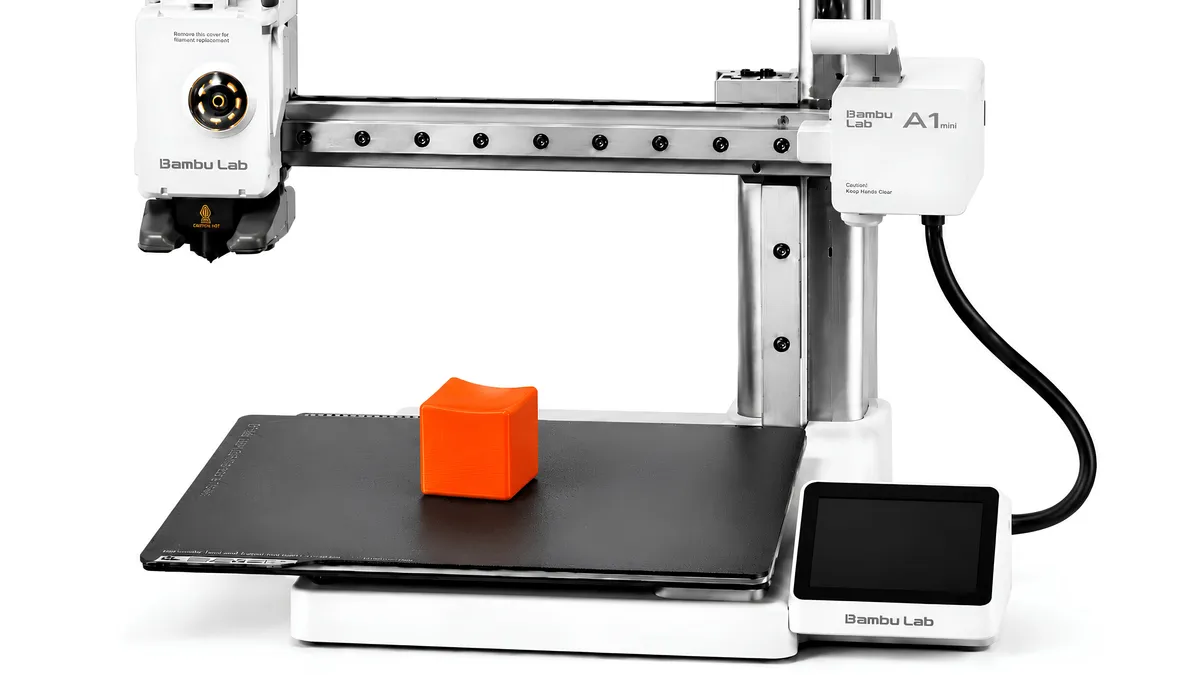
Print settings that keep the practice honest
Print the practice set at the same layer height and wall count you would use for a piece you are actually selling. A part printed extra slow with extra walls hides layer lines that a normal print will not, and you end up practicing on a surface that is easier than reality. Match your real settings, or the reflexes you build will not transfer.
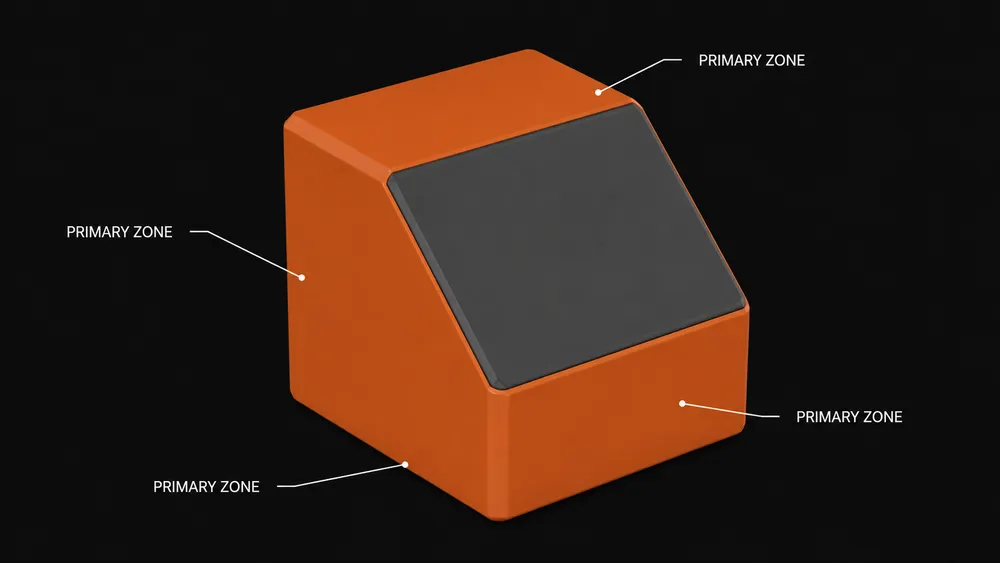
Work the primary zone first
Every model in a practice set should come with an operation brief — surface logic, risk zones, and a release-standard target, not just "sand until smooth." The brief marks a primary zone: the one face or transition where a raking light shows every mistake first. Finish that zone before touching anything else. Get the primary zone clean and the rest of the shape is forgiving by comparison. Get it wrong, and no amount of work on the easy faces will save the piece.
From cubes to real parts
Once you can execute all four skills without thinking about them, look at a genuinely complex model — a figurine, a chess piece, anything with combined curves and flats — and you will see the same four primitives, just combined instead of isolated. The sequence still matters: identify which zone is the primary zone on the real part, and attack it in the same order you practiced.
Common mistakes
- Jumping to a complex model before all four basic shapes come out clean.
- Using the same grit sequence on every shape — a concave dimple and a flat face do not fail the same way, so they do not recover the same way either.
- Polishing the easy flat faces first because they are satisfying, then running out of patience before the primary zone.
- Treating the operation brief as optional reading instead of the first step.
Bottom line
A finishing mistake on a practice cube costs a few cents of filament. The same mistake on a client piece costs the sale. Four shapes, four skills, in order — that is cheaper than learning it live.