What filler primer actually does
Filler primer is a thicker formulation designed to fill small surface voids, scratches, and pores. On 3D prints, it is most useful in the 400–600 grit range — after the heavy layer lines are already gone but before the final fine passes. It reveals imperfections under a thin coat, then gets sanded back to expose only the filled areas. Each cycle of prime, inspect, sand produces a flatter surface than sanding alone.
When to prime and when not to
Prime after the surface is already mostly even. A coat of primer over heavy layer lines will show every ridge clearly under side light. That is useful for inspection but the primer itself will not flatten those ridges. The prep work has to come first. Primer is a refinement step, not a rescue step.
How to apply primer on a 3D print
Shake the can fully before spraying. Hold 25–30 cm from the part. Use thin, sweeping passes rather than trying to build coverage in one coat. The goal of the first coat is to reveal problems, not cover them. Let each coat dry completely before touching or sanding. Rushing between coats traps solvent and causes adhesion failure later.
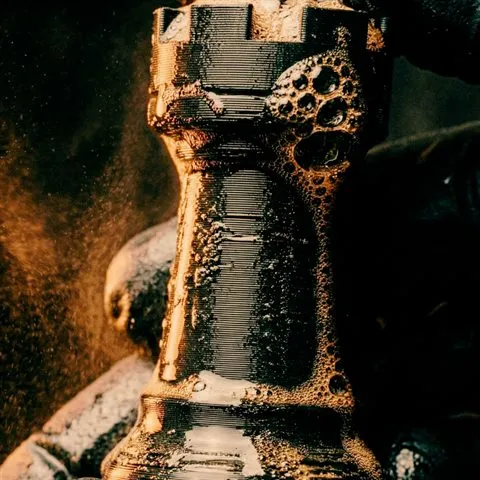
Sand between coats for the best result
After the first coat dries, sand lightly with 400 or 600 grit wet or dry. You will see the primer sitting in the low spots and sanded away on the high spots. This is exactly what you want. Apply a second thin coat after sanding, let it dry, then inspect again under side light. Two or three cycles of prime and sand typically produce a surface ready for color paint.
Choosing a primer for 3D prints
Sandable filler primers from automotive suppliers work well on PLA. Look for one that lists sanding time of two hours or less so you can complete a cycle in one session. For PETG, test adhesion on a small area first. Some solvent-heavy primers can cause PETG to craze or soften slightly. Water-based primers are safer on PETG but may require more coats to build thickness.
Common mistakes with primer on 3D prints
- Priming before the layer lines are reduced — primer reveals problems, it does not fix them.
- Applying thick coats to try to fill deeper defects — thick coats run, crack, and peel.
- Not sanding between coats — multiple coats without sanding build texture instead of smoothness.
- Painting over primer that has not fully cured — causes adhesion failure and bubbling.
Bottom line
Filler primer works when it is the last refinement step, not the first. Sand until the surface is mostly even, prime thin, sand again, and inspect under harsh light. That cycle produces a paint-ready surface that holds color evenly and looks finished rather than coated.