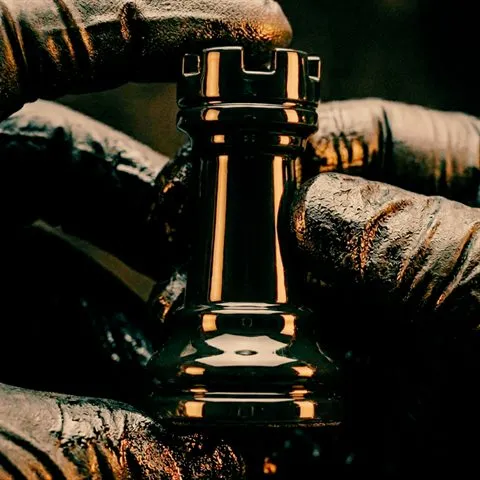
Is the surface ready for paint?
Color belongs on a surface that already supports the intended sheen. Before the first color coat, check that readiness is visible — not assumed.
- The sheen you want already has a surface that will not fight it.
- Side light shows scratches, dust, and low spots before color hides the diagnosis.
- Primer, if used, is compatible and cured as its label says.
- The color coat is not being asked to fill form errors.
- A clear coat is a compatibility and use decision, not an automatic last step.
Paint amplifies an uncontrolled surface.
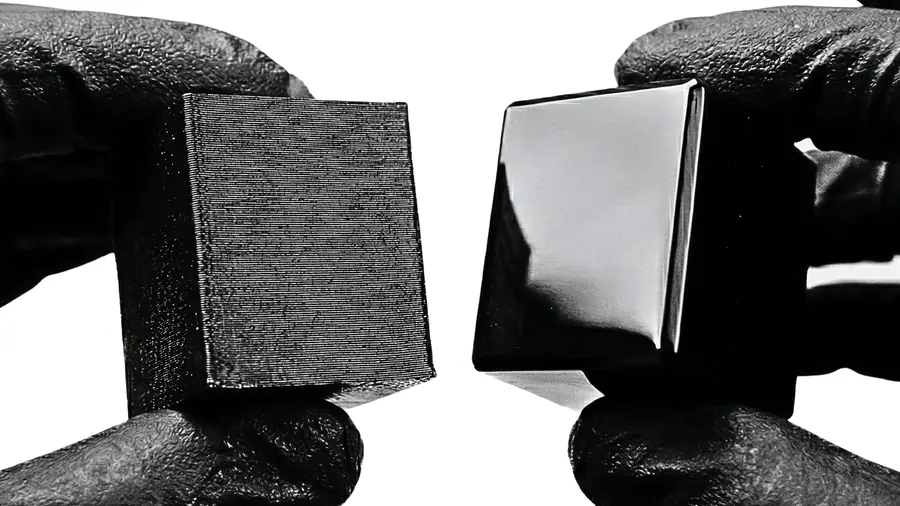
Surface prep is everything
Before coating, the part should meet the visual standard required by the chosen sheen. Directional light reveals ridges, scratches, contamination, and uneven geometry that paint may amplify. Prepare and clean the surface using methods compatible with the filament and coating manufacturer's instructions.
Always use a dedicated primer first
A compatible primer can support adhesion and create a more consistent base, but coating systems differ. Treat primer, color, and clear coat as one material stack. Verify compatibility on a spare print, follow the stated cure requirements, and do not assume that products from different systems will work together.
Thin coats only — never build in one pass
Trying to build coverage too quickly can create runs, pooling, softened detail, and trapped solvent. Controlled coverage should preserve edges and keep the surface visually even. Use the application method, recoat window, and cure guidance printed by the manufacturer rather than a generic coat count.
Control distance and environment
Application distance, motion, temperature, humidity, airflow, and surface temperature all affect the finish. The correct range belongs to the specific product label. Work only in permitted conditions, keep movement consistent, and postpone coating when the environment falls outside the manufacturer's guidance.
Add a clear coat for durability
A compatible clear coat can change sheen and improve resistance to handling, but it is not automatically required for every object. Choose it from the intended use, desired reflection, coating compatibility, and maintenance needs. Test the complete finish stack before committing to the final part.
Spray paint mistakes that ruin 3D prints
- Coating before the surface meets the intended finish standard.
- Building coverage faster than the product allows.
- Working outside the environmental limits on the label.
- Ignoring cure and recoat requirements.
- Combining untested materials or coating systems.
- Choosing sheen without considering lighting and handling.
Bottom line
A professional painted finish depends on preparation, compatibility, controlled application, and full curing. PolishMaster connects those decisions to a visible surface standard so the finished part reads as a product rather than simply a print with paint on it.