When sanding corrects and when coating only hides
Sanding removes material and changes the defect the eye can see. Primer, paint, and clear coat sit on top of that result. If raised texture, steps, or scratches still dominate under side light, a coating will preserve or amplify them rather than repair them.
Choose abrasion when the problem is form or surface texture that material removal can address. Hold coating for after the surface already supports the intended finish—or when a compatible filler system is the next diagnostic step after geometry is under control. A coat that only hides an uncontrolled surface is not progress.
What to watch while sanding
Four signals matter more than habit:
- Defect type. Raised layer texture, scratches, steps, and soft haze each need a different correction intensity. Match the method to the defect in view.
- Geometry. Flat faces, curves, recesses, and sharp transitions respond differently to pressure and support. Protect intentional edges and raised detail while the worked area changes.
- Heat. Sustained friction can soften plastic, smear texture, or cloud the surface. Warmth, gloss where cut texture should appear, or new haze are stop signals—not proof of progress.
- Edges. A face that looks smoother but lost its corners is not finished. Designed edges and corners must remain readable.
Where stage choice, wet work, and PETG heat live
This guide decides whether sanding is the right correction and when to stop. Stage selection belongs in How to Choose Sanding Stages for 3D Prints. Wet versus dry technique is covered in Wet Sanding 3D Prints. PETG heat response has its own path in How to Sand PETG 3D Prints.
Is the surface ready to stop sanding?
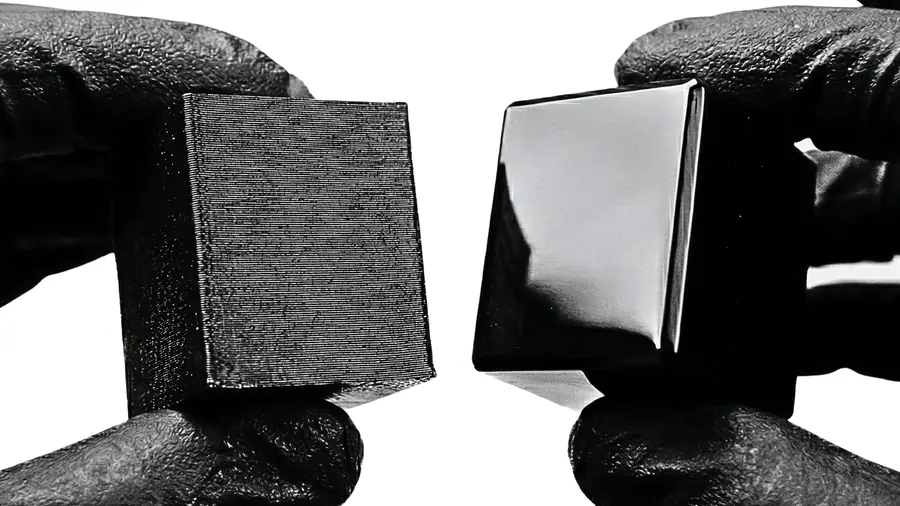
Before leaving abrasion, confirm under revealing light:
- The defect under correction no longer dominates the view.
- The new texture is even across the worked area.
- Intentional edges and corners still read crisp.
- Heat response is absent—no smear, soft gloss, or new haze.
- A coating is not being asked to hide remaining form errors.
If any of those fail, keep correcting or change method. Do not advance to hide the problem.
Bottom line
Sanding succeeds when it changes the defect the eye actually sees and stops when the surface supports the next stage. Coatings do not replace that judgment. The Formula holds the specific material paths behind these decisions.